
This is a full on time for a propagation, although also there is no rush to sow tomatoes, cucumbers, courgettes, sweetcorn et cetera. Spring is also good for making new beds, which you can actually do at any time of year. See all the details below!
My new online course 3A has appeared. Seed to Harvest, the First 15 of 30 different vegetables.
- Each lesson is one vegetable, in a lot of detail and with a video.
- I have just finished writing 3B the Second 15 and we are editing it, prior to publishing before the end of March.
Normally it’s reckoned that March comes in like a lion and goes out like a lamb. However this year maybe it’s the other way round, with March starting quietly. After a windy and dull February, just 63hrs sunshine in the month, see my weather details.

Starting seeds
Don’t be overawed by what you may read on social media about people starting their cucumbers and even summer beans. They have their time for sowing, and it’s not yet! See my timeline of sowing dates, and Calendar + Diary.
Multisowing is catching on now. It’s such a fine way to save space and compost, and seedlings enjoy being in clumps with their mates. See my guide for which vegetables work best, and how many seeds to sow per cell. This page is available in Spanish and Italian too.
Seed germination
The first few days is all about warmth. Seeds need higher temperatures to germinate than the seedlings need to continue growing. That’s why I bring trays into the house for the first few days, until the first shoots appear.
At this point it’s important to give them full light, to prevent thin leggy seedlings. Either with grow lights in your house, or outside where either it is cooler, but perhaps you can provide some warmth. I have space for a hotbed of fresh horse manure with straw. Electric mats are good too. See my propagation video.
In temperate climates you can also manage without extra heat at the moment, because all of these first swings are not tender to frost. You can also germinate seeds of lettuce, spinach, salad onion et cetera in a propagating area outside, but germination will take longer.

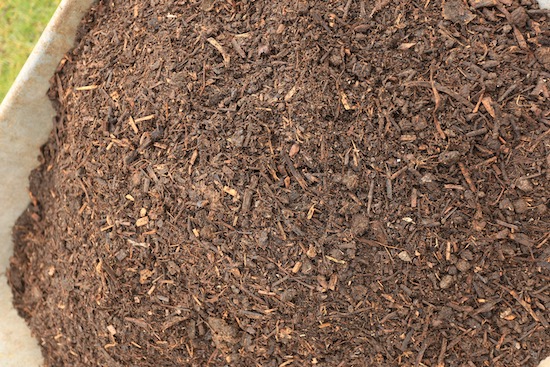
Which compost for potting?
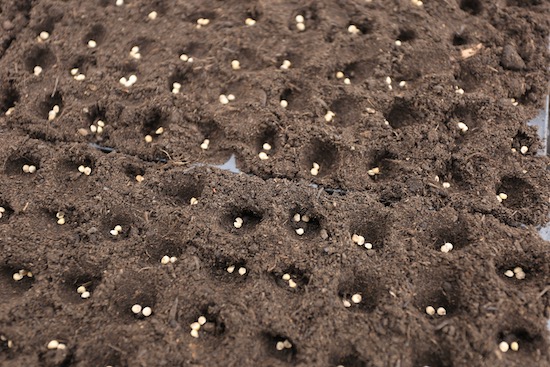
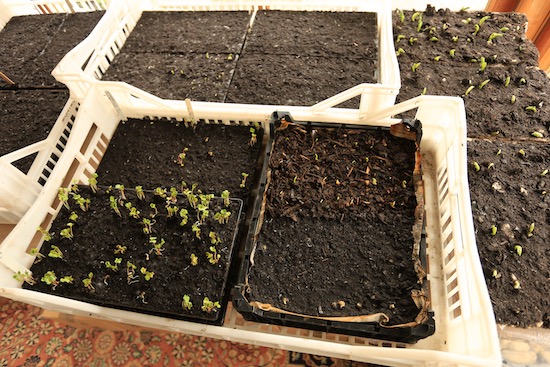
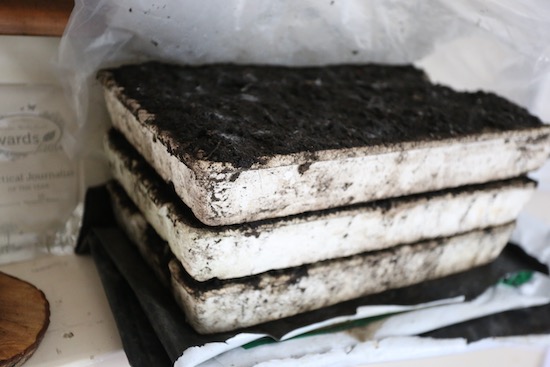
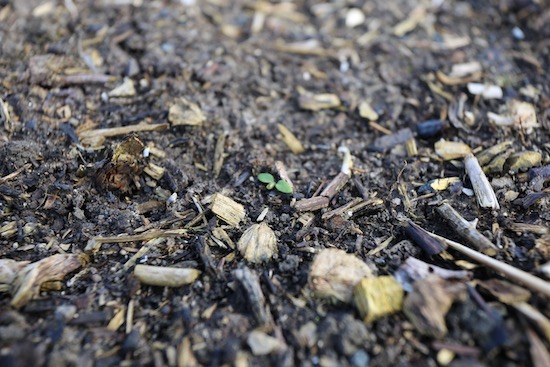
Composts vary so much and over the years I have found Moorland gold to be the most consistent. However they tweak the recipe every winter, and so every spring I have nervous moments of wondering is it working this year? This spring at first some of the ingredients went a little mouldy and also the density felt too fine, resulting in a shortage of air for the roots, see the photo below. Therefore this is not good for sowing seeds in a tray, but it works very well in modules for sowing. In a tray, you can add 50% or more of vermiculite or perlite.
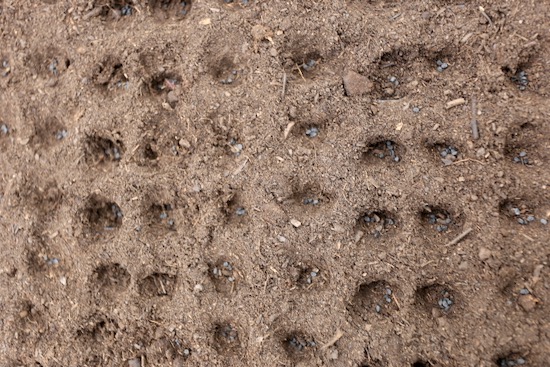
Which? Gardening ran a trial last spring on different composts and found that one of the worst for sowing seeds was John Innes No. 1. A reader sent me the photo below of his problems with it, and there are some poor compost being sold! Better ones include the Melcourt range, possibly Dalefoot if they have worked out their nutrient issues since last spring, and I usually hear good reports about B&Q compost.
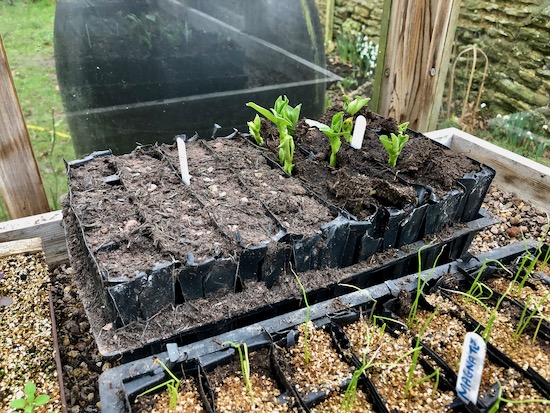
Trays? Blocks?
I am enjoying using the trays which I designed, for the first time. The only seeds I would not use them for are broad beans, and perhaps multisown pea, although I am trialling that.
I use larger trays for broad beans, but they are not deep. A 5 cm/2 inch depth is plenty, despite what you may read about broad beans needing deep trays for their taproot. My online course module about propagation has these details.
I use trays rather than blocks because I have found it takes quite a time to make the blocking mix, and then you need dedicated trays to put all the blocks on. I cannot find a blocker for the size I want, either they are smaller or larger. With the CD 60 I can fit a lot of cells in a small area. Plus the trays can be reused time and time again, always without any cleaning or washing, so it’s a rapid process.


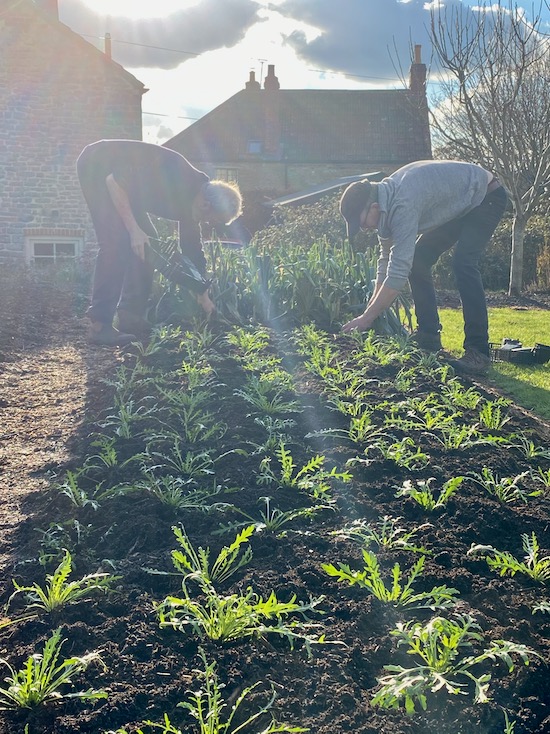
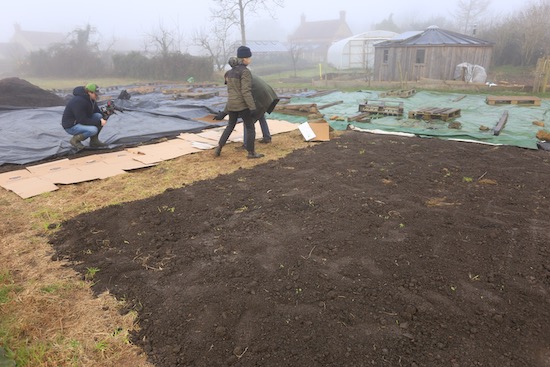
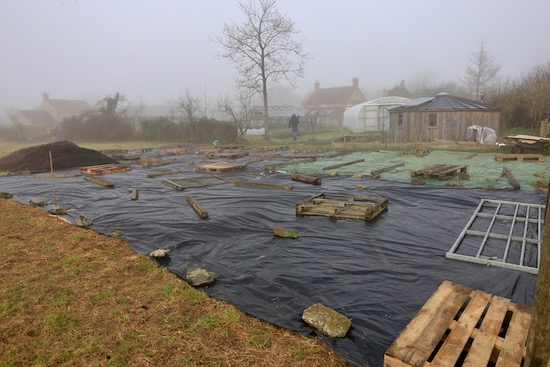
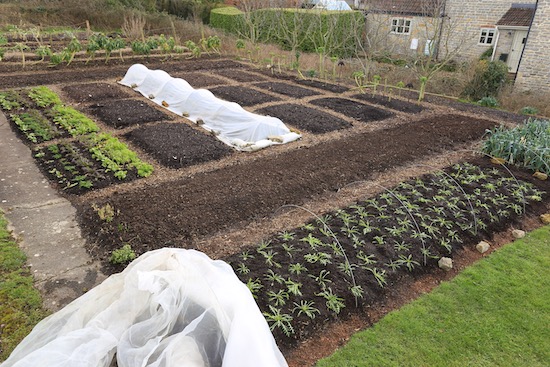
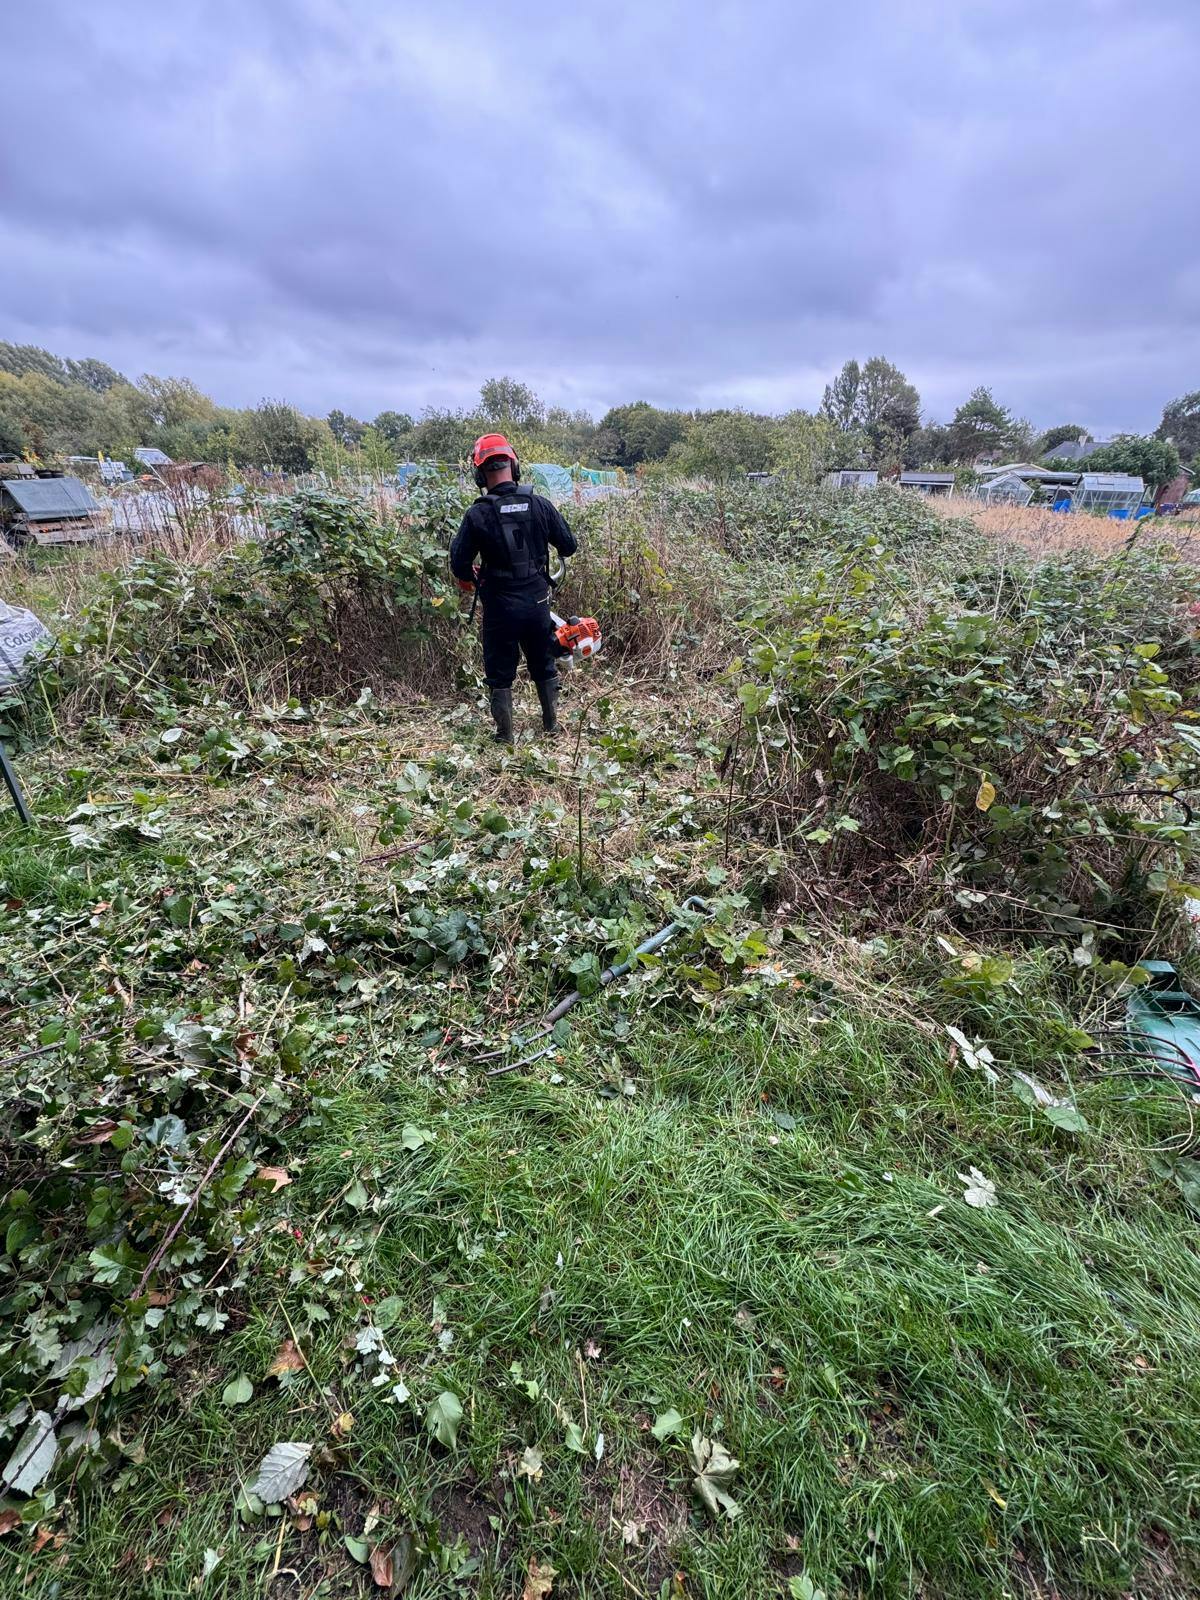
New ground, mulching weeds no dig
We grab any spare moments to do more mulching of the grass and weeds. No dig can be a nice incremental process where you chip away at a larger space, bed by bed. Learn more in the book of my online no dig course – what you see here relates to module 4, about dealing with weeds without digging.
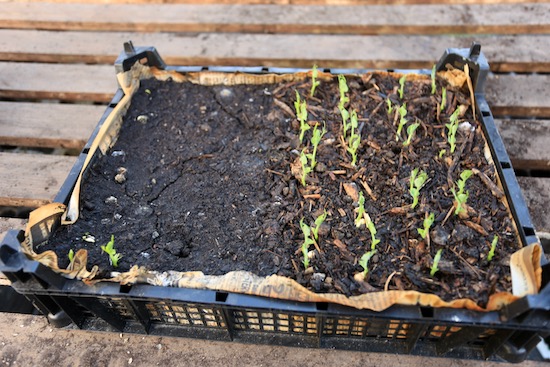
The size of this new area (just 260 sqm / one fifteenth acre) has led me to use polythene covers for the first three months or so. Under the polythene are various combinations of some spare topsoil I had, cardboard and compost. The latter is mostly green waste and I have done a bean trial to check that it is free of weedkiller. The bean seedlings are actually growing extremely well!
To save time I am not shaping beds and paths at the moment, just covering the whole area. We shall eventually do a final dressing of some extra compost on what will then become beds, and without any wooden sides.
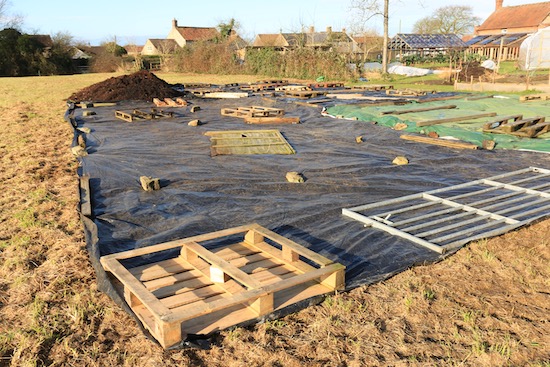


Cardboard
Until two days ago I did not have enough and mentioned this on a YouTube members video, and a gentleman Steve appeared with a pallet load of cardboard, fit was used for plumbing appliances. Nice cardboard but a lot of staples.
In the photos below, the area in front has only soil on the pasture weeds, without any cardboard underneath. So now we shall apply the cardboard on top of the soil already spread, then the compost above that. I should have preferred to lay cardboard first, but things don’t always work out to plan.
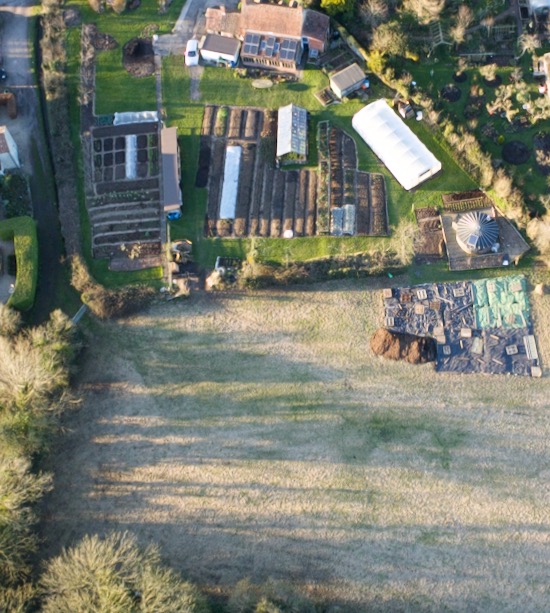
Perspective
The drone shot gives a nice idea of how small the new area is! Although it seems quite large when we are working on it.
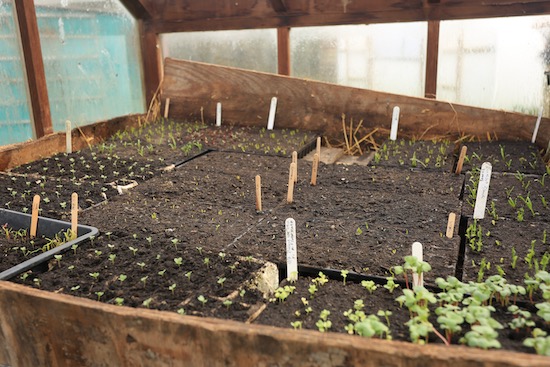
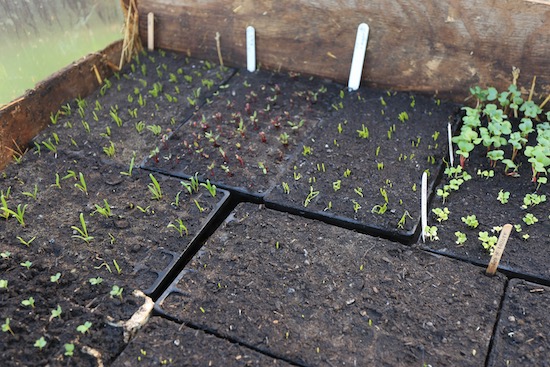
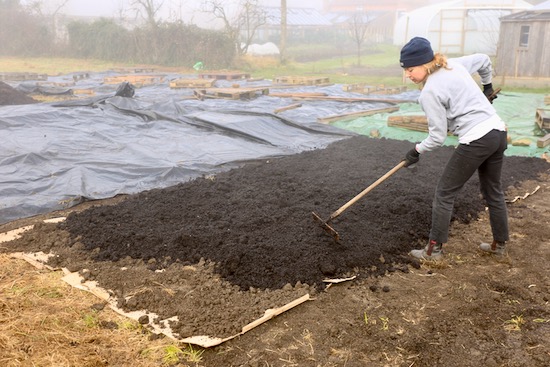
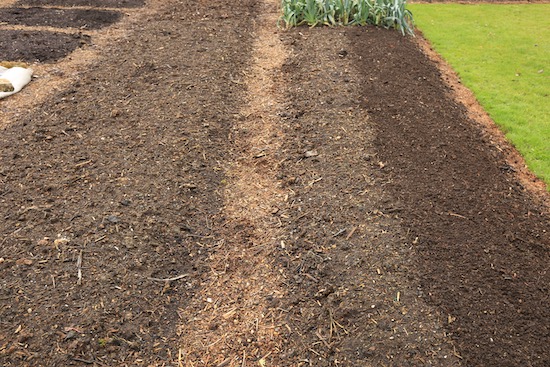
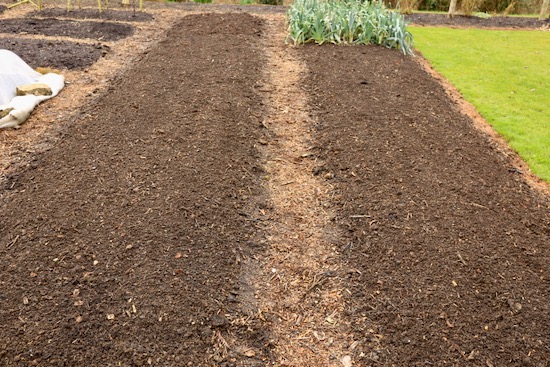
Bed prep existing no dig beds
This video we made 11 months ago gives ideas of what jobs you can do over the next month. One is to watch for new weed seedlings and deal with them when they are tiny, because that is much quicker and easier than letting them grow to any size at all.
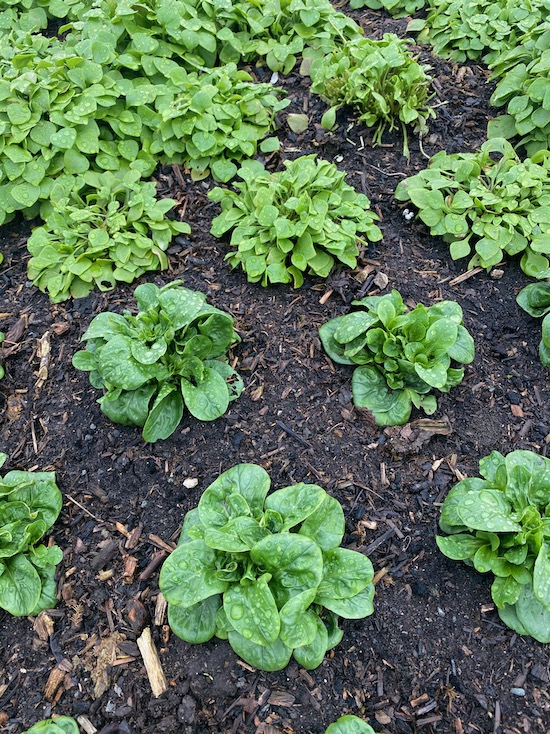
It took me no more than 10 minutes to run a rake through the beds below, in the photographs. It’s a big advantage of having spread compost just before winter. The frosts have softened it and now it has a beautiful texture, ideal for receiving seeds and plants.
- No-Dig is just such a win win
- It saves time, saves effort, drainage has been excellent over winter, and moisture retention is excellent through summer.
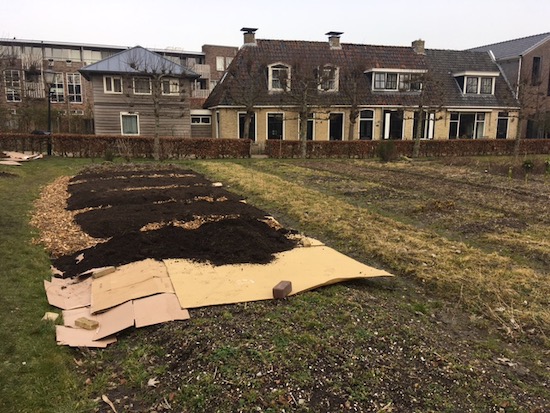
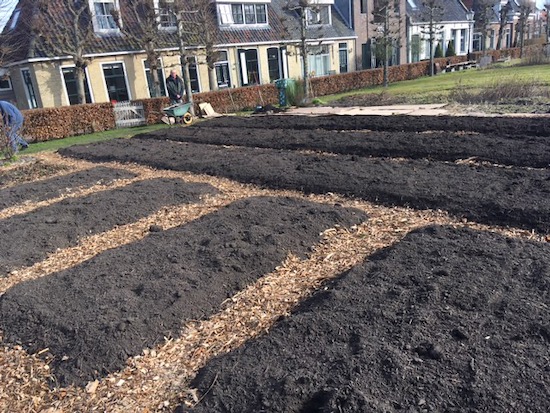
New garden Netherlands
The photos below were sent by Gerrit from Friesland. He has created a lovely growing space! I love how no dig is spreading to so many places.
In a week or so we shall release a video we are creating with Wini Walbaum in Santiago. You will see our different gardens, in different seasons, and the conversation I have with Wini, who has not been gardening for long but is very happy with results of no dig, especially for moisture retention.


0 comments